How to Install a Solar Roof Strobe Light Without Drilling
Installing auxiliary vehicle safety lighting no longer requires drilling holes through sheet metal or splicing factory wiring harnesses. Modern roof lights utilize industrial adhesives and self-contained solar batteries to achieve quick, non-destructive attachment. Follow this step-by-step guide to install solar roof strobe light hardware onto your car, SUV, or truck.
To explore additional strategies for nighttime vehicle safety, review the main guide.
Step 1: Clean and Prepare the Vehicle Roof Surface
!Step 1: Clean and Prepare the Vehicle Roof Surface
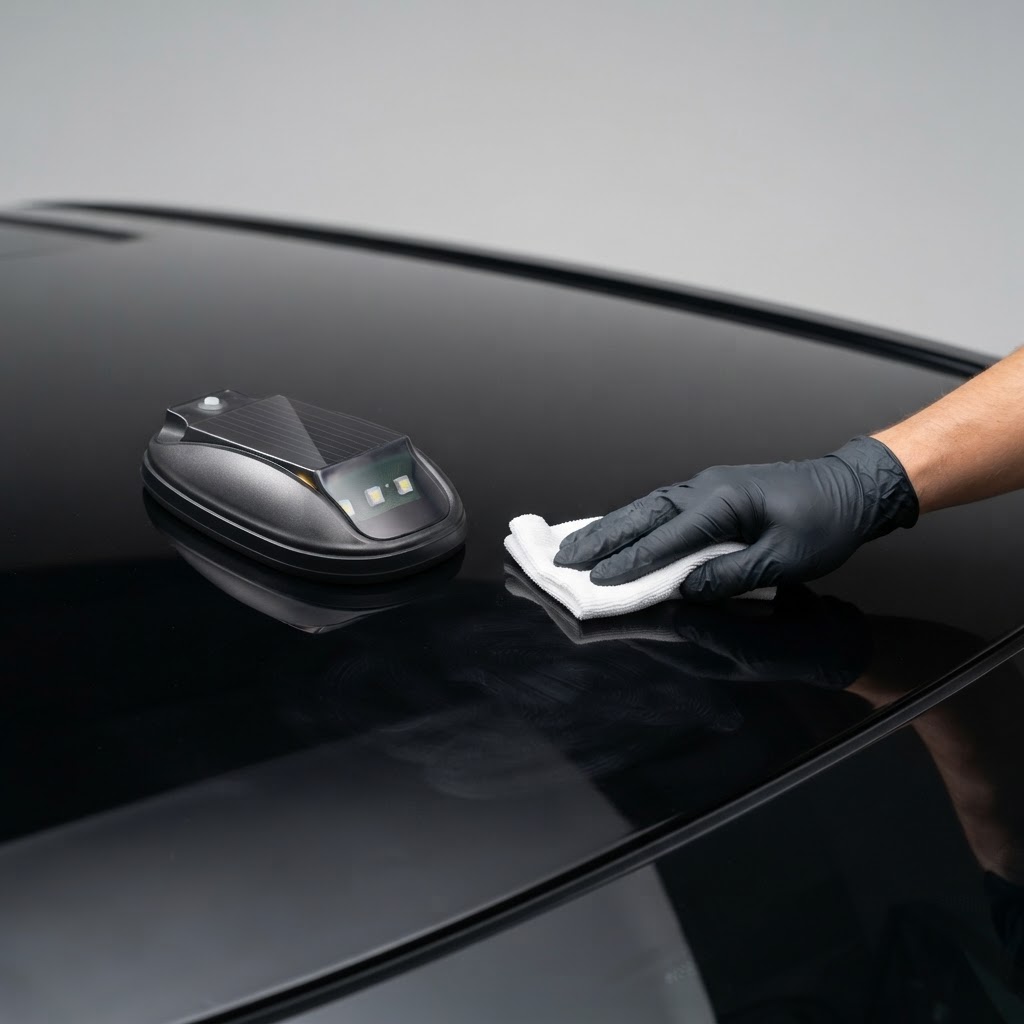
Select a flat or slightly curved mounting area along your vehicle's roofline. Thoroughly wash the surface with isopropyl alcohol or mild detergent to remove dirt, wax, and road grease. Ensuring a completely clean, dry surface allows the industrial adhesive to form a high-strength weather seal.
Step 2: Position the Detachable Base Unit
!Step 2: Position the Detachable Base Unit
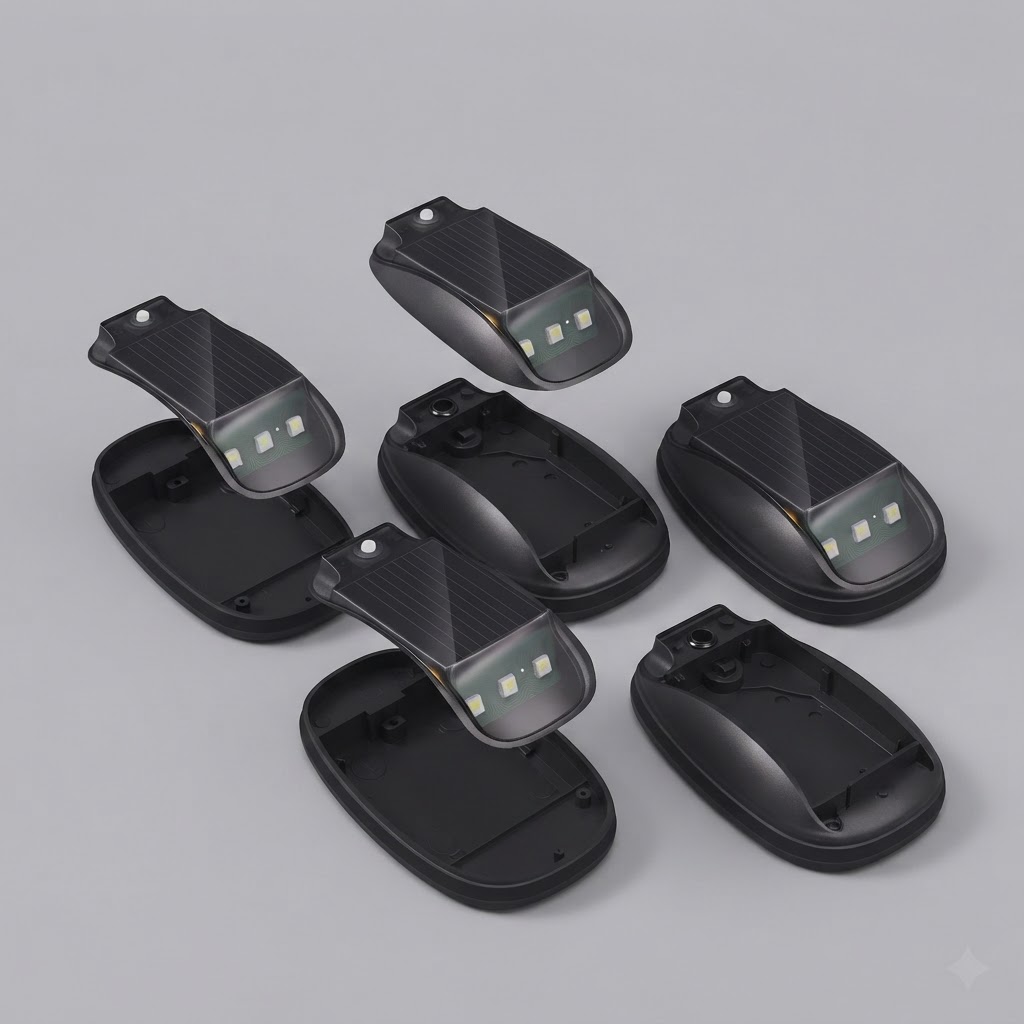
Take advantage of the Tool-Free, Low-Profile Installation design by separating the light unit from its mounting base. Peel back the protective film from the peel-and-stick industrial adhesive pad on the bottom of the base. Align the base along your vehicle's centerline, press down firmly, and maintain constant pressure for 30 seconds seconds to solidify the bond.
Step 3: Secure the Strobe Light Housing
Snap or twist the main Solar Car Roof Light body into the secured base unit. The aerodynamic housing sits low against the roofline to minimize wind drag and resistance. Built with a Universal Fit & Waterproof Design, the housing completely seals internal components against rain, snow, and car washes.
Step 4: Configure Remote Modes and Sensor Activation
Test the initial charge status. If needed, charge the unit briefly using the built-in Type-C Charging Port for backup or place it directly under sunlight to engage Solar-Powered Auto-Charging.
Use the wireless remote control to toggle through 8 Colors + Multiple Modes (Remote-Controlled). Test the internal Smart Light-Sensing & Vibration Activation by covering the light sensor in darkness and tapping the vehicle frame to confirm auto-illumination and the 20-second delayed shutdown after parking function.
Read the full guide: How to Increase Car Visibility at Night: The Complete Guide