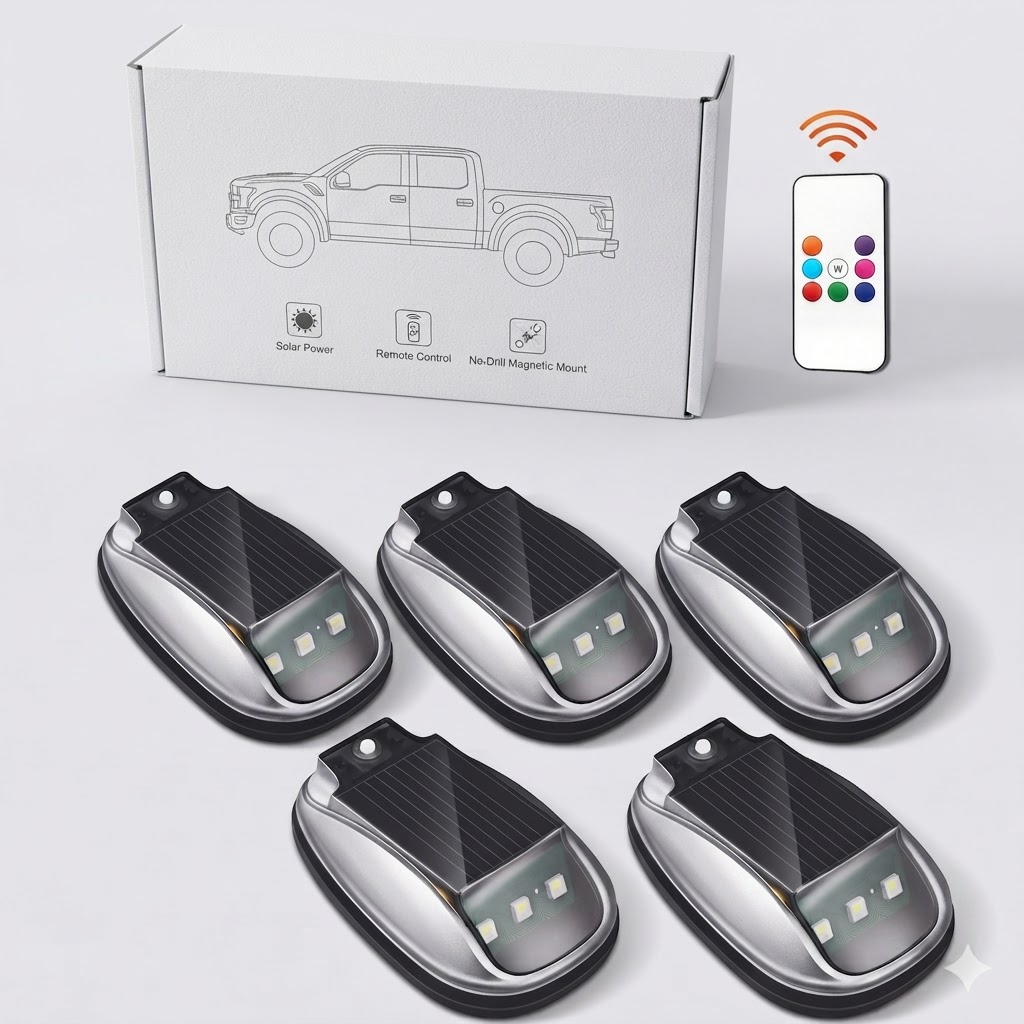
How to Install a No-Drill Solar Roof Light on Your Vehicle
How to Install a No-Drill Solar Roof Light on Your Vehicle
Upgrading your truck or SUV with safety strobe lights does not require drill bits or wire splicing. Learning how to install solar roof strobe light on truck roofs takes less than five minutes with zero installation cost (0 USD).
Step 1: Prep the Vehicle Mounting Surface
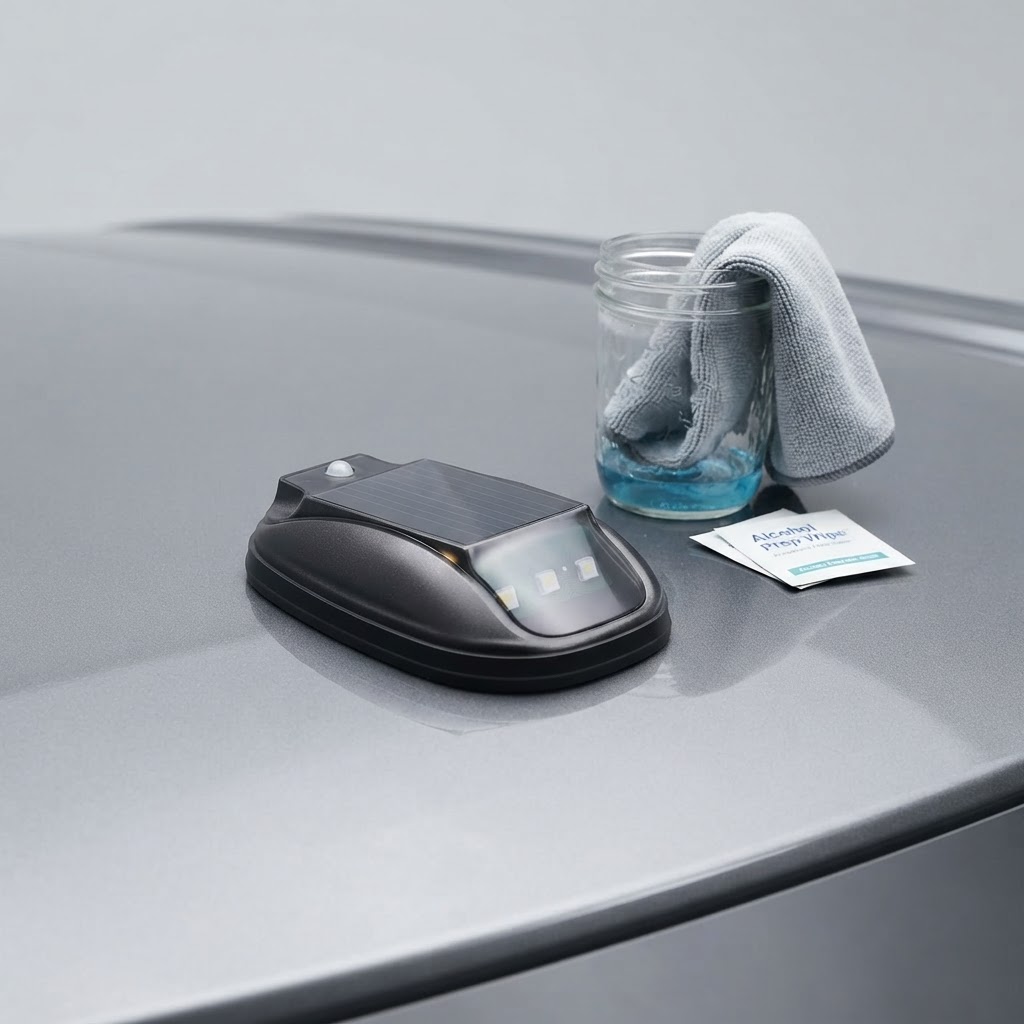
Clean the intended installation spot on your truck's roof or cab with isopropyl alcohol. Remove all dirt, trail wax, and oil to ensure optimal adhesion for the industrial peel-and-stick base.
Step 2: Test the Remote Control and Modes
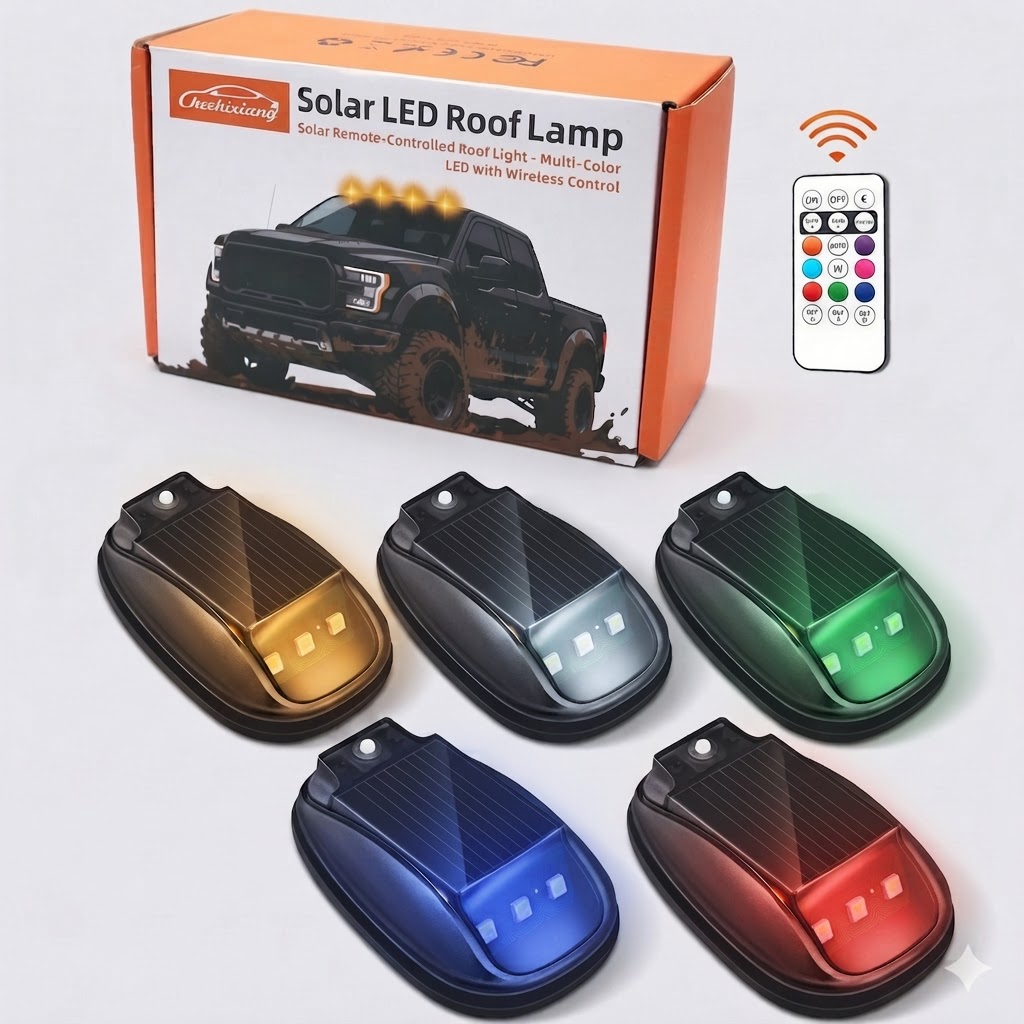
Before mounting, turn on the unit and use the wireless remote control to step through all 8 RGB light colors (White, Red, Green, Blue, Yellow, Purple, Ice Blue, Green) and flash modes.
Step 3: Align the Aerodynamic Mount
Position the detachable low-profile base on the roof, pointing the sleek aerodynamic front forward. Ensure the built-in solar panel points skyward to capture maximum daylight charging.
Step 4: Apply Pressure and Secure Base
Peel off the protective adhesive backing. Place the mount onto the cleaned roof spot and firmly hold with an adhesive press for 30 seconds. This activates the industrial bond.
For additional setup tips and off-road emergency signaling guidelines, review [the main guide].
Step 5: Test Smart Motion and Night Sensing
Cover the solar sensor to simulate night conditions and tap the vehicle to trigger the vibration sensor. Verify that the light activates and turns off automatically after a 20-second delayed shutdown.
Read the full guide: Ultimate Guide to the Best Emergency Lighting for Off-Road Camping